I
started building car models somewhere around 1985 at the age of 10.
Back then I loved doing it but my biggest issue was patients. I remember
always rushing through the steps trying to get done and always
mishandling the parts or getting finger prints in the not so dry paint
or even worse too much plastic cement on the clear window parts creating
a hazy mess. Imperfections and all I continued to build them learning a
little as I went along. Back then I picked up some tips from my Dad but
mainly I learned by trial and error, lots of errors. By the time I
finished High School I did a good job for an amateur that used spray
cans of paint and the infamous little testers brand bottles of enamel
and a brush for the details.
Toward the end of high
school building car models was frustrating, because I couldn't get them
as perfect as I wanted them mainly due to the spray cans I was using to
finish the car bodies. I purchased a killer airbrush a Paasche VL model
on a recommendation from an artist friend who did some great work but I
had no success. Between learning how to operate it to problems with the
air source to cleaning it.....I boxed it up...shelved it and went off to
college.
That was all before the internet....yep learning how to do things pre google or utube was hard.
 |
| Starsky and Hutch Gran Torino |
I
moved recently to a new place and have a ton of work to do before I can
get my new model railroad started..a lot, moving walls, plumbing, etc.
I couldn't wait and realized I could quickly set up a temporary
workbench almost out of the way and build car models as long as I
figured out how to perfect the building and painting process. Thanks to
utube, I did.
I have picked a theme for my first few models and that is iconic tv cars from the 1980's or so era.
The
first up is Starsky and Hutch Ford Gran Torino. The second is the
General Lee from the Dukes of Hazard, the Third is the A team Van, and
the fourth the black firebird "kitt" from knight rider and the Ferrari from magnum pi.
What scared me about this Torino was the big white stripe water transfer decal, but more on that later.
Read this whole article before starting your next kit....If you don't have the patients to do that then you don't have them to properly make a car model either.
Actual Model I finished:
Model kit selection
The
kit Manufacturer is huge. Monogram was always my favorite back in the
day and now Revell Monogram has proven to provide the best quality kits.
If you have a choice dont buy any plastic kit unless its made by them and issued recently.
The Gran Torino kit is the best quality I have ever had. In contrast the
only way I could get a General Lee kit with the rebel flag decal for
the roof was to get one made by MPC issued some time ago and let me tell you it is complete
garbage. The parts are molded so bad you can't tell where the extra
plastic flash ends and the parts start. That made it a bear to try and
line things up. The instructions were drawn by a 3 year old and frankly
that same kid hand carved most of the plastic molds. The detail that
shows up on the interior I had to work to hide rather than show off. The
reviews kind of stated all of that but I wanted that car with that flag
decal so I purchased it anyway and did all the extra work.
Buying a modern issue Revell kit will yield the least amount of sanding and prepping.
So here are the next ones on the bench....finished images will appear when I get em done.
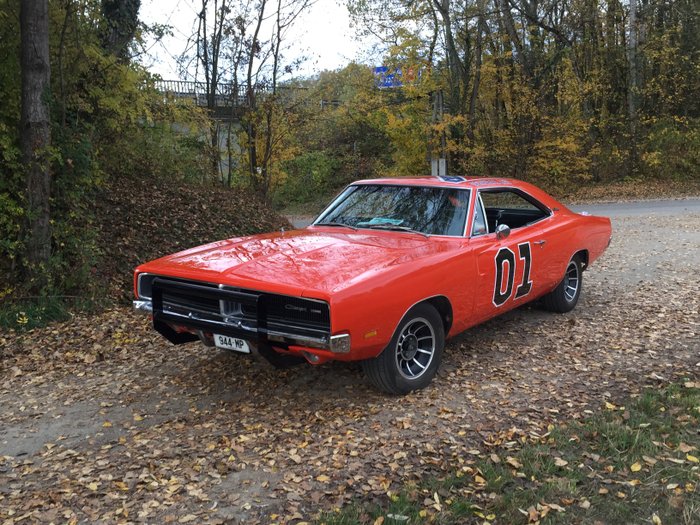 |
| General Lee |
 |
| A team Van |
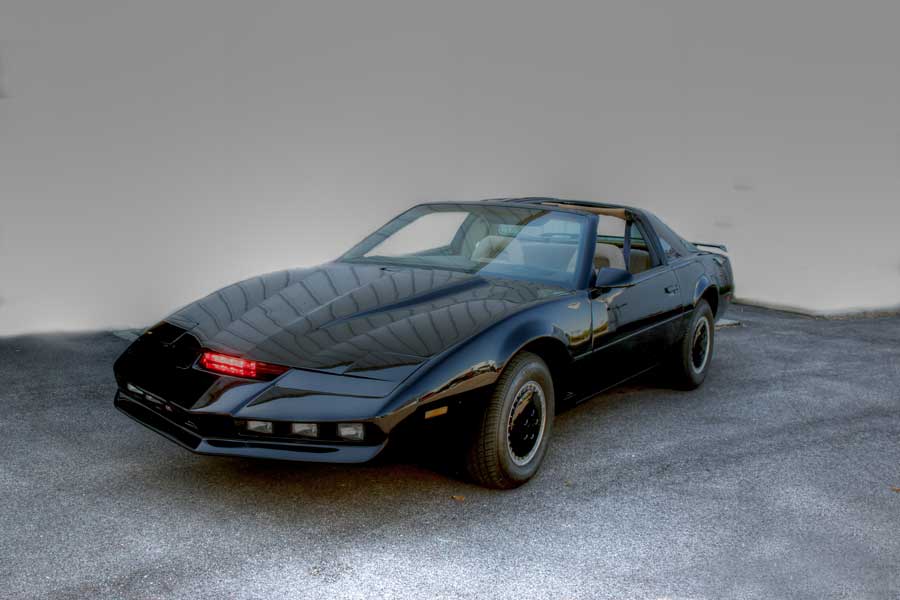 |
| "Kitt" Knight Rider |
Check out the reflection in the door panel of the close up shot of KITT.
Buying your supplies
I use a combination of Hobby Lobby/Michael's, Amazon, Ebay to purchase all my supplies. I have found Hobby Lobby the best for the acrylic paint selection and price and I use a combination of ebay and amazon for the kits and other supplies.
Prepping your model
Review
the instructions. Take note of anything you have to add onto the body
that will get painted at the same time as the body. some or all of those
items you are going to have to assemble and maybe do some body work on
so they will have to be assembled pre paint.
All of the
non chrome and non clear parts need to be scrubbed with isopropyl
alcohol and a new tooth brush. this will remove the mold release agent
that will prevent paint and glue from adhering properly. Be careful not
to break the fine thin parts while scrubbing. Let the parts air dry.
Going forward if you are going to handle them without nitrile gloves
then before paint scrub them again to get your fingerprints off them.
Car Body

For
the Car Body study the parts. You will notice mold marks from
the casting process. These are seems that show up in the part that have
to be removed. Some of them can get tricky because they get hidden in or
near the natural body lines of the car. Wet sand them out with 800 grit
wet/dry sand paper. Be careful not to take too much material off the body and
don't sand out any surrounding detail. Don't leave extra sanding marks where you do not have too. To help with the collateral
damage cut your sand paper into 1" x1.5" rectangle and use even
pressure and rinse in water frequently to clear the grit.
Get yourself a Micro Mesh Sanding Kit. The sanding Pads come in a grit range of 1500-12000. You will use them on the car body.

Once you are done with all the mold lines make sure to do any obvious
body work with your plastic filler. I use Deluxe perfect plastic putty it seems to flow the best into the spots that need to be filled and sands out great. for fine lines such as when you are putting together the engine block or any other small assembly that creates a gap at the seem you can also use
fast drying white out. You simply lay it on the seem in a few coats till it is built up enough let it dry and then sand it down reapply as needed.
Once your body work is done break out your sanding pads from the micro mesh kit and start wet sanding with the 3200 grit pad and do the entire car body. Any areas that seem to low from the molding process will show up with a different sheen from surrounding areas. Hopefully the pads can straighten out those low spots or you will have to stop, fill them with the putty and sand em out before continuing. These pads are great because they are so flexible and don't kill off detail so easily.
Use even pressure and go front to back as much as possible. Then go side to side with the same pad to make sure you got everything good.
If all looks good and even use the 3600, then 4000. At this point, 4000, if you press too hard you will actually shine the car body up too much and will not leave enough rough stuff for your paint to bite on too. There should be little to no sand marks left from any body work or mold line removal. You may want to use the 6000 grit but that is a case by case basis.
That was a lot of sanding work but it will pay off. Now you can scrub your car body down with a new clean toothbrush and alcohol (not the drinking kind) and let it air dry. Once dry it is ready for paint, which is where you will really screw it up if your not careful so make sure your are...details to follow. Do not touch the body with your bare hands after the alcohol scrub...period...use nitrile gloves or your finger prints will interfere with paint adhesion.
If you want to break up the sanding work you can start building sub assemblies of the interior or engine or chassis or do it in the order the instructions tell you too. I personally get the car body ready for paint then while I am waiting for paint or clear coat to dry I work on the other sub assemblies. I hardly every go in "order".
Sub Assemblies
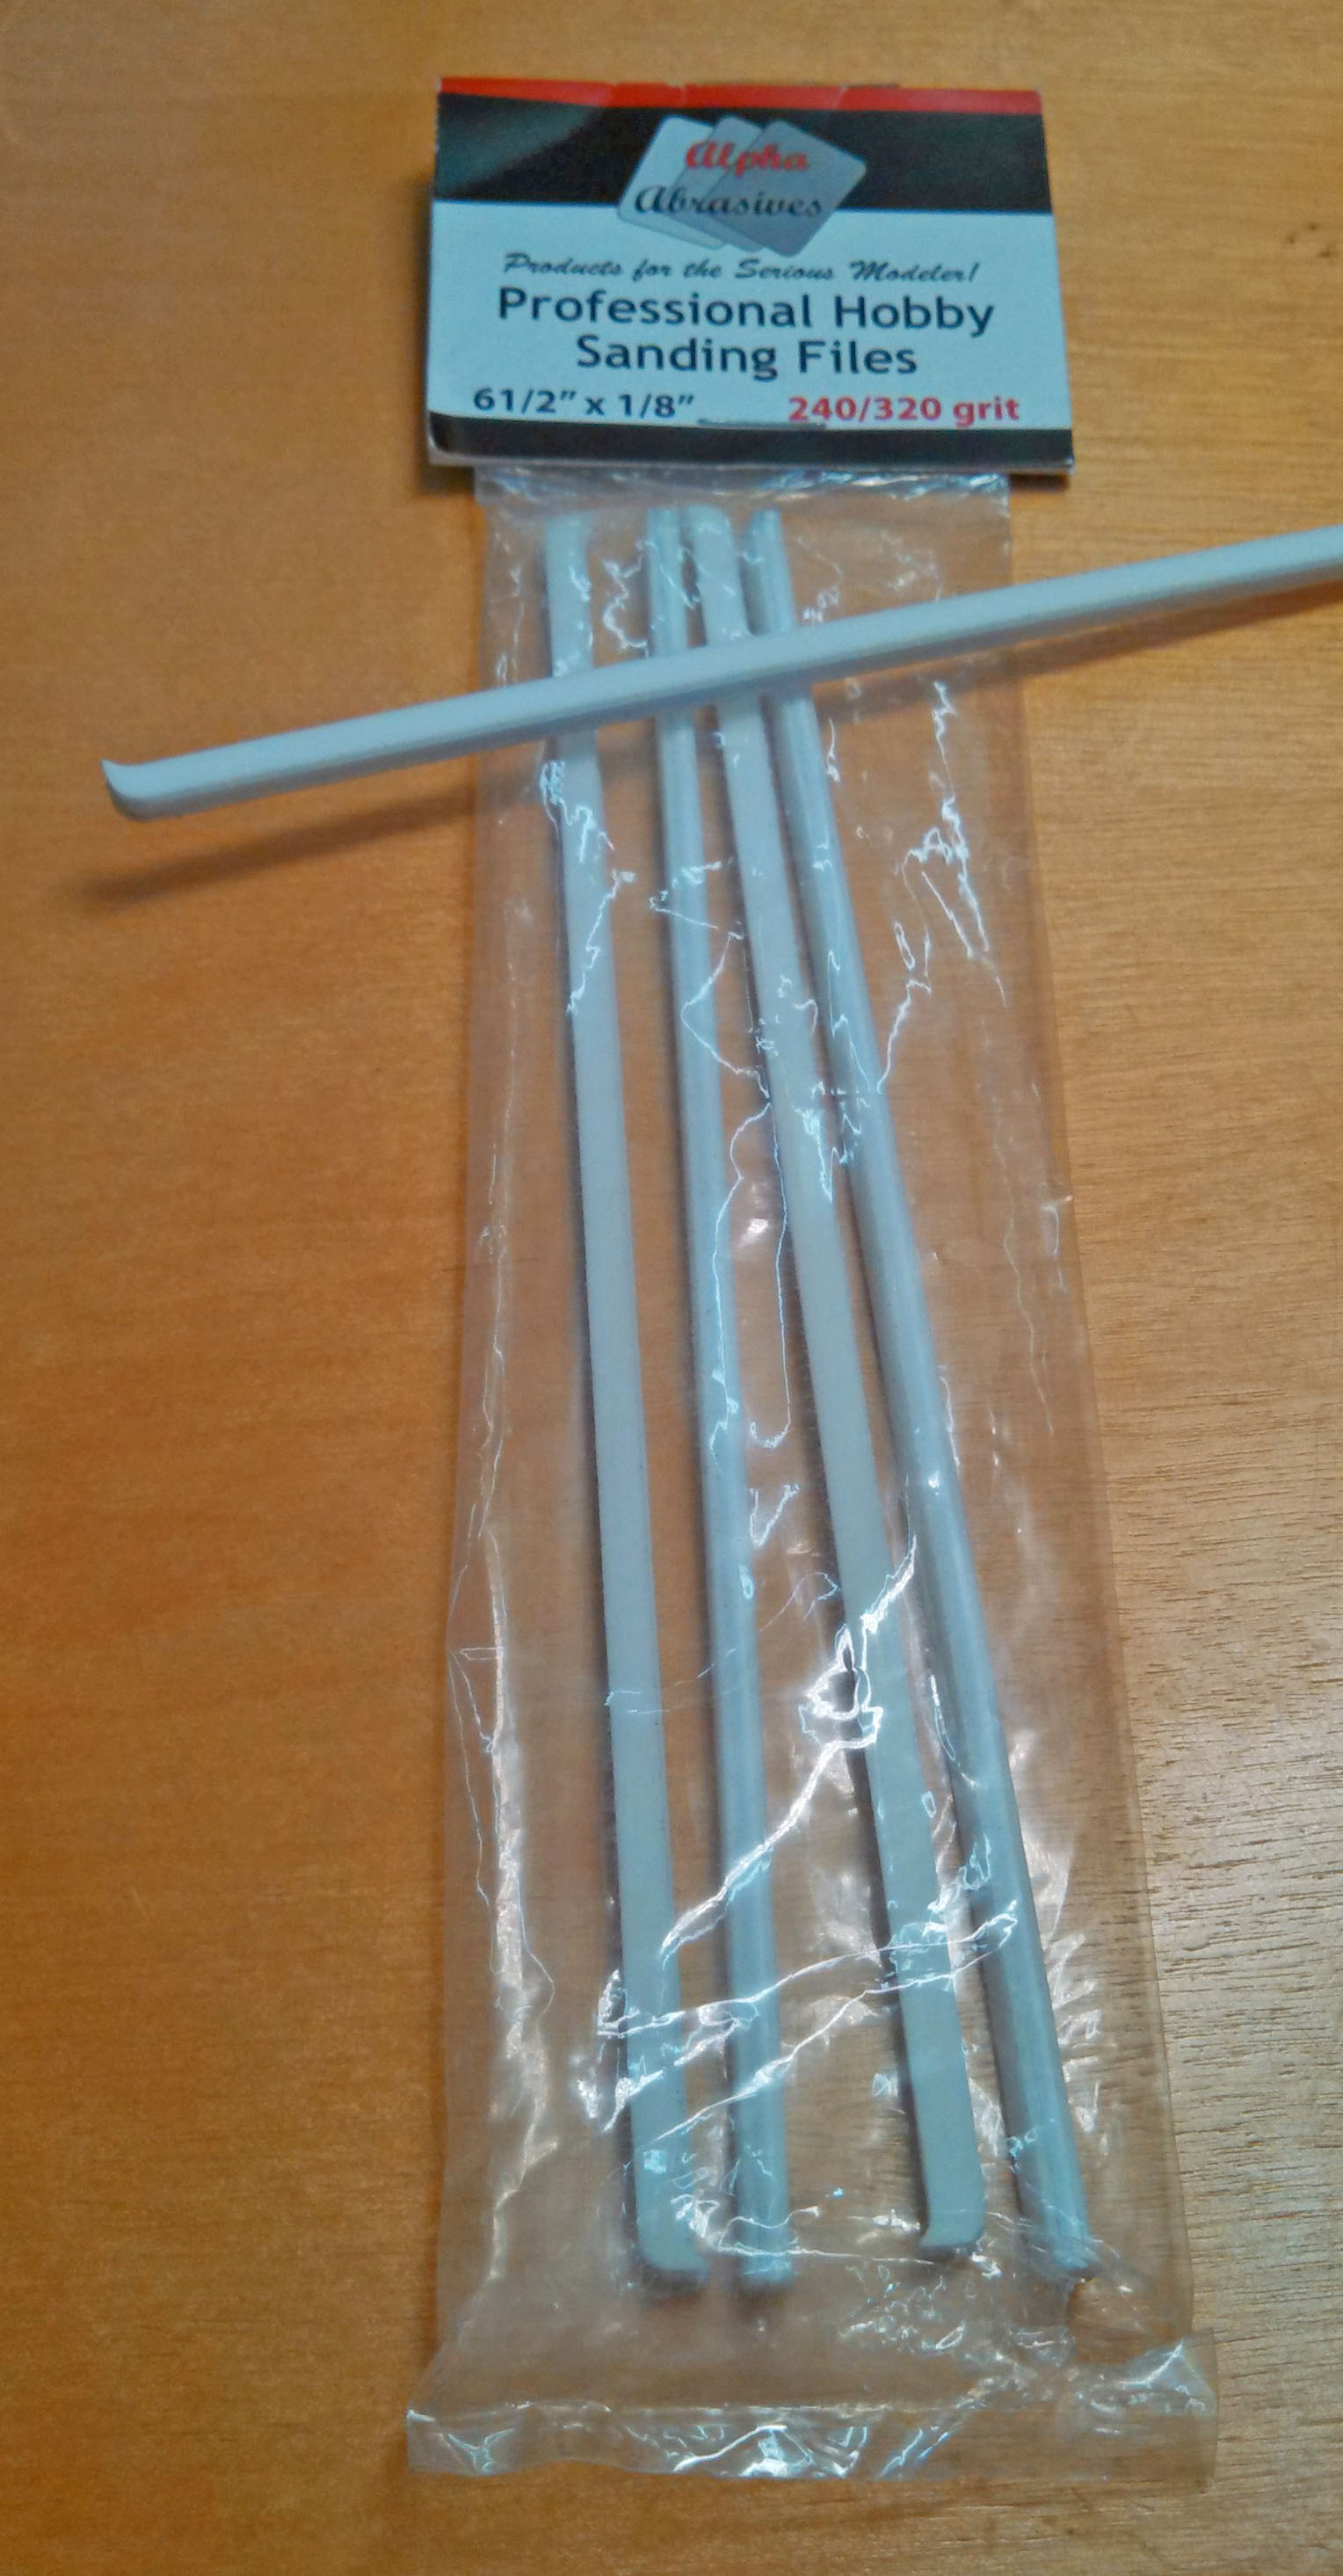
Be careful removing parts from the plastic trees or you will end up with divots you will need to fill later. Cut them off with a small set of wire cutters, trim with an exacto knife, sand off any flash or mold lines with sanding sticks (which you can get at hobby lobby in different grits). You may even be able to scrape off the mold lines with a sharp exacto then just even off the surface with a light sand.

I would start with the engine. Get the Block and what ever other parts you want the same color as the block together. Do not put on any chrome. Sand, Fill, & Sand any seems so that once you paint them the seems fade away. Over time you will learn what seems are visible what aren't so as to not waste time filling a seem you can't see.
Test fitting is your friend. Before you glue you need to test fit the part together and then even the sub sub assembly with the larger assembly...well you get the point. The stuff is plastic not granite. You can cut, sand, manipulate it all to work if in fact there is a clearance issue.
For glue I use mostly a loctite gel control super glue and some other standard ca glues when I need to have thinner glue that runs. Flowing super glue is a model car's worst nite mare. I like putting a drop of gel on surfaces and having it stick there. Also I use a ca kicker most times to speed things up...put a little kicker on one side...glue on the other an stick em together...done...so be careful no retries.


Remember to paint as you go lay out the colors properly so you don't have to mask too many times. Also most glue does not work on painted surfaces well so you have to scrape a little off in each spot to allow the glue to hit the plastic.When masking use a low tack mask tape...most regular tape is high tack...even the blue painters tape can tear off paint from parts. Tamiya makes a great masking tape in different thicknesses and some designed to go around curves.
Painting
Only use acrylic paint via an airbrush (Paasche vl series). Collect all the parts you want the same color and paint them all at once to save some time. Airbrushing acrylic paint is about many light layers. 3,4,6 coats. Use the paint that comes in the screw/flip top plastic bottle such as applebarrel, folkart, anita, etc.


If you use anything other than acrylic paint, clean up is a chore, you cant fix mistakes easily, it will discourage you from model building in general...and they stink..literally.
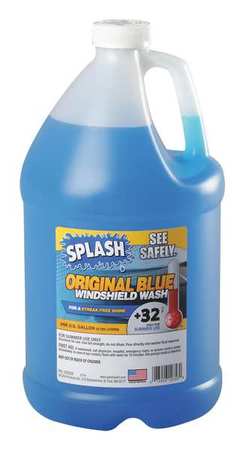
Mix a small jar full at time for airbrushing and when you are done pour it back in the bottle. You need to thin this paint to the consistency of milk. I use a plastic coffee stirrer and when I can stir then lift it out and get about 3 drops off the stirrer quickly its ready. Thin the paint with good ole blue, el cheapo, windshield washer fluid....yes I said windshield washer fluid not the fancy rainex type, use the old standby. I also use this to flush out my airbrush after coats of paint. The blue color does not change the color of the paint.
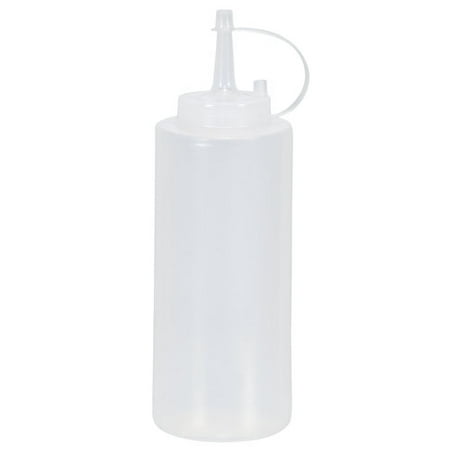
Put some washer fluid in a squeeze bottle like one used for condiments or oil at a sub shop. you can then easily add it to your mixing jar and its great to hose down your airbrush and paint cup in between coats. Run it through till everything is clear. The washer fluid has some sort of wetting agent that keeps the paint from drying too quickly as the airbrush atomizes the paint.
Use light even coats...stay half an arm's length away from the surface. Think about laying down 6 coats of color for the car body. You wont start to see the real color till coat 3 or 4. You can wait till the surface looks dry....which could be only 5 minutes before the next coat if the humidity is low and it was a light coat. I only lay down 3 coats in a sitting. then I let it dry for 24 hours and continue. If a spec of dust got on the surface I ever so lightly hit it with a corner of a 4000 or 6000 grit sanding pad to try and get it out but the color must have at least 24hrs dry time before trying this fix. If you rip the spec off to bare plastic you will have a hard time filling that spot back up to meet the rest of the color coats. You must use a very light touch while fixing blemishes.
If you make the paint run from it being too heavy or other wise screw it up, the beauty of this paint is it can come right off. If it is still wet, or not completely set you can rinse it under the faucet and it will come right off. If it has set and you notice an imperfection you cant live with then spray your part down with Windex and it will dissolve the paint off without harming the plastic. You may need to scrub with a tooth brush but it will come off and you can start over once things dry.
Also remember to run some washer fluid through the airbrush between coats and definitely between colors. This is a quick process and allows you to change colors quickly.
I hardly brush anything but small details anymore. Some engine parts, interior highlights etc.
For airbrush air supply I use a small airbrush compressor by master airbrush I found on amazon. This thing is quite and more importantly puts out the right pressure right out of the gate for what you need.
I also use a nifty airbrush booth which you can find all over the internet to help exhaust the fumes.

 Applying water slide decals
Let me start with saying this is not an easy process. The bigger the decal is the harder it will be to get it right...also the more curves or bumps it has to go over the harder it will be to get it right. The White stripe on the gran torino kit I reference above almost gave me a stroke. That thing was curved and in 3 sections. To get it all to line up as it went accross door panels and up and over the hood was crazy.
Micro Set...and Micro Sol. Get them! Small bottles go along way.
Cut out your decal. Wet it with water. Let it sit till it freely can slide around on the backing. While you are waiting for the slideability to kick in. Apply Micro Set to the area you are going to lay the decal on. This will let it be able to move around a bit for placement and give it some extra grip when it tries to set up. Then using a soft brush or Que tip apply some Micro Sol to the decal if it needs some help to lay down over bumps or curves. This will soften the decal. So don't play around with it too much or you will melt the face of the decal. Then let it dry...do not continue to mess with it.
Clear Coat
This is the most important step of the painting process. The clear coat will give your model an amazing mirror finish shine....or if screwed up will cause you to buy another kit and start the body all over again! For the clear coat itself I use a rattle can of Rustoleum specialty lacquer clear finish.

This stuff works great! No need to airbrush a clear coat use this right out of the can. It does smell up the joint which is the only drawback. Use a respirator and ventilate well. Once your last color coat is dry for a few days...I let mine stand a week...you are ready to put your first light coat on. Do not rush this. Your color coat must be cured. Using the acrylic stuff I mentioned above a few days is fine but any other type your on your own. If your color coat isn't cured long enough when you apply clear it could wrinkle up and pull the color away from the body. That is a fatal mistake. Any Decals that you need to apply would be done after the first light coat. If you applied decals do yourself a favor and let them dry a few days before proceeding. Do not rush this. If you arent applying any decals then you can proceed to put on 2 more coats the same day. Like the color coats I only put on 3 in one day and let the last coat dry for 1 day before the last 3 coats. You want slow steady control of the spray stream out of the can. Be careful of the distance from the car body so that you dont get any runs. However too far away and it drys out too much leaving too rough a finish. Remember light coats. The closer your spray can is to the car body the wetter it will go on increasing the chance of runs. The further away the dryer it will go on...you have to find the perfect balance. The slower you move left to right with the spray the heavier the coat will be. Your first few coats will look quite rough if you are doing them light enough.
If you apply any decals i would suggest 5 lite coats of clear after the application of the decals. (1 coat prior to application of decals) Then a final wet coat..totaling 7.
If there are no decals than a total of 6 coats is what I apply.
The last coat of clear you want to be what is called a "wet" coat. this is the heaviest coat you can put on before it runs. This is a tricky thing to master it involves lots of variables so at first think just a bit heavier than the light coats you have been applying. Runs are hard to get out during the wet sand process but with some work you may be able to fix them. Better not to have any.
Once your last clear coat is dry for a week you are ready to wet sand and polish. If you put it on a bit too heavy then there is too much clear coat and even after a week you could see marks appear on the clear coat from handling-as if it is dry on outside but wet underneath. its weird I have experienced this.
Wet sand and polish for a mirror finish
More than likely you will notice a orange peel finish to your clear coat this seems to be normal. Wet sand your car body with 2500-3600 grit sand paper or the sanding pads to take the high spots off. You will have to determine the grit and use a light touch. You will notice the sheen difference between high and low spots right a way. Use light even pressure. You do not want to leave any deep scratches nor burn through the clear coat and hit the color. You will burn through on any corners or detail that bumps out from the "flat" part of the car body. Stay away from those areas and focus on the wide open spaces of the hood roof doors and fenders. Remember to use very small 1" or so squares of sandpaper to keep down any collateral damage...better yet use your sanding pads.
Keep rinsing the paper/pads and keep the body wet so you don't build up any extra grit or gunk that may leave deep scratches. Do not over sand...light pressure..back and forth just a few times. You are just looking to take off any High spots of the clear coat. If you get an even dull finish then you are done. If it is spotty then there are still some high spots. Stop and check often you can always continue on but once you have taken the clear coat off you cant put it back on easily.
If you are wet sanding over decals be very careful not to take off any more clear coat than you have too. The idea with this stage of the process is to just level off the clear coat and do nothing more.
After wet sanding your finish will be dull. To get it to be a mirror shine you need to compound out the dullness. I use a 3 stage compounding system by Tamiya. The first stage is coarse, second is fine, third is finish.

What a great product this system is. There may be a standard auto product at pep boys that you can buy that is basically the same stuff but I have never tried any out. Why fix something that isn't broken. One full set of compounds Will be enough for 20+ models since you use it so sparingly.
Take a clean rag, I use old stained up t shirts, and put a 1/4" blob or less of the compound on and rub it into the body panel that you are working on...hood, roof etc. It works on friction so give it a little quick rub. once it starts to dry up you are about done. Then take a clean rag and buff it off. You will be amazed the very first time you do this with stage 1 coarse. Then you will be even more amazed when you realize you have 2 more stages to do.
Stage 2 takes out the scratches left behind from stage 1...stage 3 takes out the scratches left behind from stage 2. After stage 3...this thing will look pretty damn awesome and you can move on to putting a few coats of your favorite liquid wax.
Remember that the compound is a sanding tool. You can over use it and burn through the clear coat. When you are compounding you are taking a fine layer of clear coat off.
I have burned through my clear coat by mistake and damaged the color coat. I also have fixed the area by laying on a small amount of the color with a fine brush in the area damaged...then after it dried a day or so gave the part a few coats of clear and started over. If you do it right its pretty undetectable even from up close.
Conclusion
There was no way I could cover every scenario or variable you might encounter on your next or first build. I did hit all the highlights. As I progress through my next few car builds and develop or adopt any new techniques I will update this article to include the latest information.
The biggest tool you will need is patients. You must allow time for color and clear coats to dry as I have suggested. If you rush at any stage of your build you will screw things up and have to start over. If at any point you find yourself making mistakes or getting frustrated it is time to take a break and step away from the workbench.
Take your time and have fun.


